# Add Map
### Creating a New Map
Maps serve as stages for player interactions, such as intro scenes, hunting grounds, or towns. Follow these steps to create a new map:
1. **Right-Click the \[NekoSample] Folder**: Locate the **\[NekoSample]** folder in the file explorer and right-click it.
2. **Select \[New Map]**: From the context menu that appears, click on **\[New Map]**.
This will initiate the creation process for a new map.
#### Configuring a New Map
When the **\[New Map]** popup window appears (refer to the screenshot below), configure the following settings:
1. **Name**: Enter a unique name for the map.
2. **Size**: Specify the dimensions of the map.
3. **Tileset**: Choose a tileset for the map's visual theme.
4. **BGM Change**: Set the background music for the map.
5. **BGS Change**: Configure the background sound effects.
6. **Single Play**: Enable or disable single-player mode.
7. **Instance Map**: Toggle the instance map setting.
8. **Gravity**: Define the gravity level for the map.
9. **Channel Count**: Specify the number of channels available for the map.
10. **Maximum Players**: Set the maximum number of players allowed on the map.
After entering the desired settings, click **\[Confirm]** to create the map.
#### Configuring Map Details
When setting up a new map, you can customize the following fields:
1. **Name**:
* Set the name of the map being edited. This name is unrelated to the game's content and is purely for organizational purposes. Choose a name that clearly indicates the map's purpose.
2. **Size (Width/Height)**:
* Specify the map's dimensions (in tiles).
3. **Tileset**:
* Select the tileset to use for creating the map.
* Example: Choose **\[002: Background Tiles]** for a background map or **\[000: Town]** for creating a village map.
* Pick a tileset appropriate for the map's intended design.
4. **BGM Change**:
* Set the background music for the map.
5. **BGS Change**:
* Configure the background sound effects.
6. **Single Play**:
* Enable or disable single-player mode.
7. **Instance Map**:
* Check this option to make the map an instance map.
8. **Gravity (X, Y)**:
* Set the gravity values for the map's environment.
9. **Channel Count**:
* Define the number of channels available for the map.
10. **Maximum Players**:
* Specify the maximum number of players allowed in the map simultaneously.
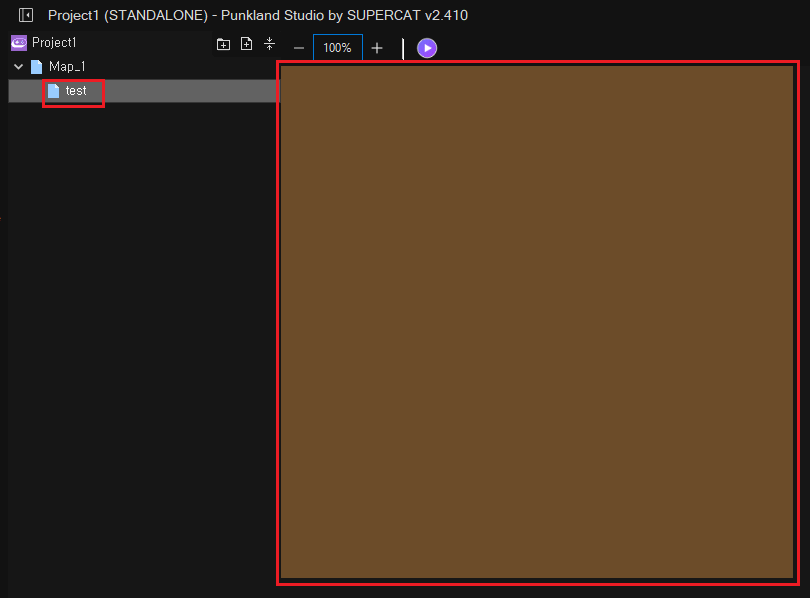
#### Example: Creating a Map
For example, if you set the following:
* **Name**: `test`
* **Size**: Width 16 / Height 16
* **Tileset**: `000: Town`
* **Instance Map**: Checked
Click **\[Confirm]**, and the newly created map will resemble the screenshot below.