Spine
This feature is available from Spine version 3.8.20 and above. Free Spine resources and example game files for Punkland are attached in the link below for your reference.
Example Resources: https://nekoland.net/market/detail/3119
To use the Spine animation and equipment swapping features in Punkland, you must set the animation names and slot names in the Spine file to match Punkland’s requirements.
The keywords are as follows:
Animation
Idle
idle_left
idle_right
idle_up
idle_down
Walk
left
right
up
down
Attack
attack_left
attack_right
attack_up
attack_down
Jump
jump_left
jump_right
jump_up
jump_down
Damaged
damaged_left
damaged_right
damaged_up
damaged_down
Dead
dead_left
dead_right
dead_up
dead_down
Equipment
Hat
hat
Armor
armor
Weapon
weapon
Shield
shield
Wing
wing
Shoes
shoes_left
shoes_right
Place the spine allas.txt, json, and png files in the Spines folder of the Punkland project.
The three files must be in the same folder for the Spine resource to work correctly.
The folder name (Spines) must be case-sensitive and spelled exactly the same.
Select the png file from Database > Character > Graphics.
Scale and border features do not apply to Spine resources.
In the Resource Manager, select the png file and use the Sprite Editor to set the name, position, collision, and ambient light.
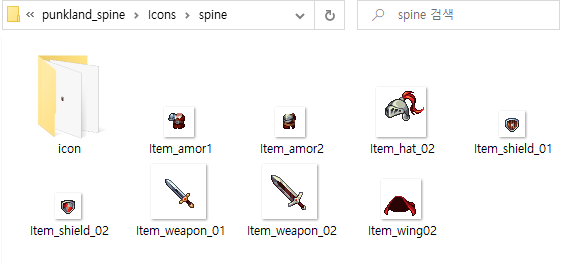
Place the icon and item png images in the Icons folder.

Select the icon image and Spine image in Database > Item.
Icon: The item icon image that appears in the shop and inventory.
Spine Image: The item image that is placed on top of the Spine character.
Select the item type.

To apply the item as a Spine item, the item type and the slot name in Spine must be set to the same name.
Hat
hat
Armor
armor
Weapon
weapon
Shield
shield
Wing
wing
Shoes
shoes_left
shoes_right
Ring
ring_left
ring_right
Accessory
acc_left
acc_right
When modifying and using Spine items from an example file, you need to ensure that the image size and object positions are aligned correctly.

Last updated