Test Play
1. Accessing the Test Play Screen
Click the [Game] tab and select [Publish Game], or click the test play icon in the toolbar to access the test play mode. Please refer to the screenshot below for details.

To proceed with test play, a pop-up message will appear stating that you must first save the edited content before you can start the test play.
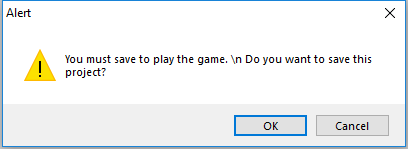
Click [OK] in the pop-up window to save the edited content, and the test play will start. Please refer to the screen below.
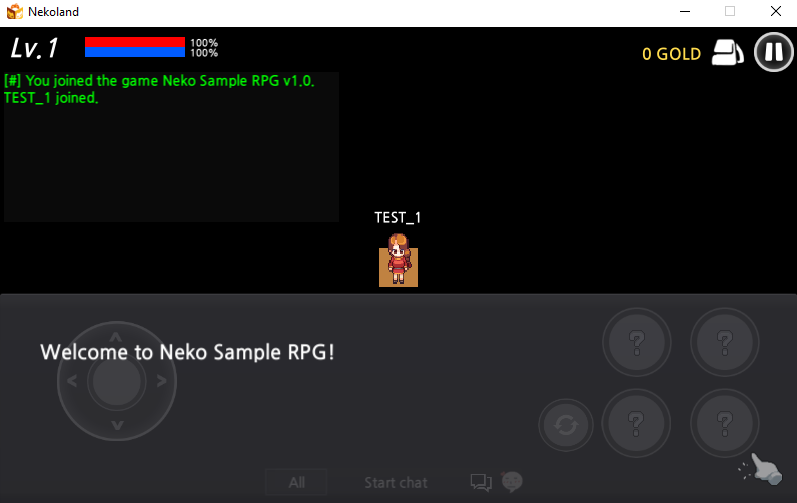
2. [Character Selection Window] - Selecting a Character
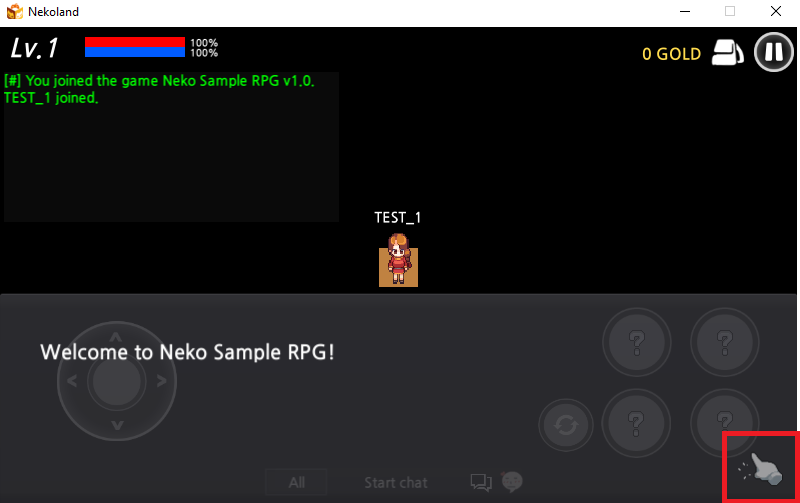
Continuously clicking the finger icon located in the red box at the bottom right will allow you to access the character selection window. Please refer to the screenshot below.
Once inside the character selection window, use the touchpad control in the lower left corner to move upward on the map and select your desired character from the four available options.
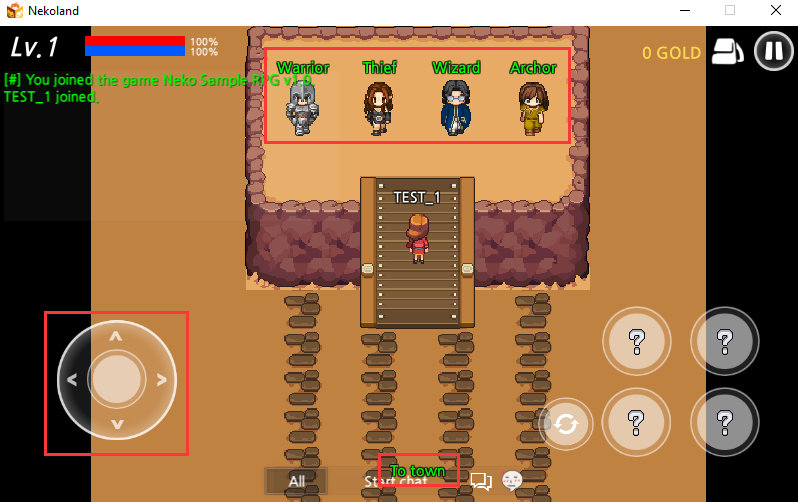
For example, if you choose the Thief, a message will appear saying, "Would you like to select the Thief?"
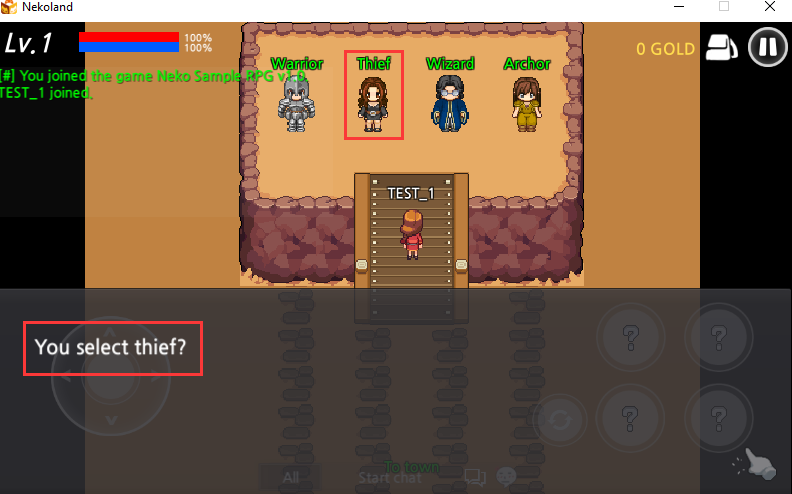
Continuously tapping the finger icon at the bottom right will then bring up a "Yes" or "No" selection message.
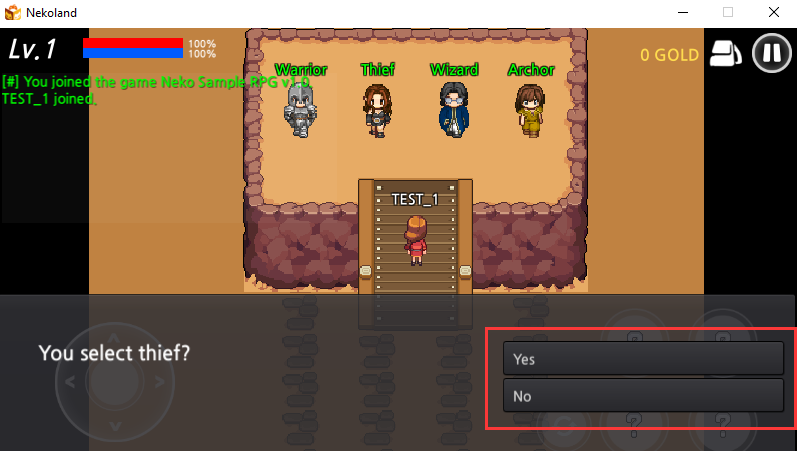
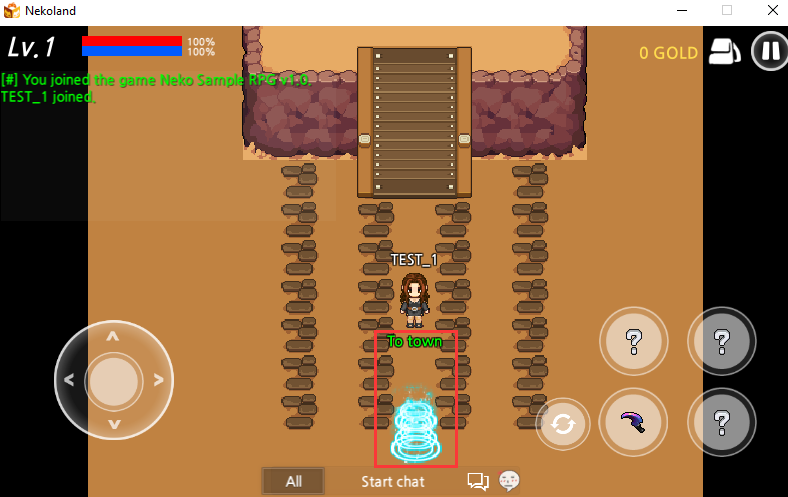
Click "Yes" to select the Thief. You can then enter the village map through the [To Village] button located at the center of the altar.
When attempting to enter the village map, a message will appear again asking, "Are you sure you want to choose this class?"
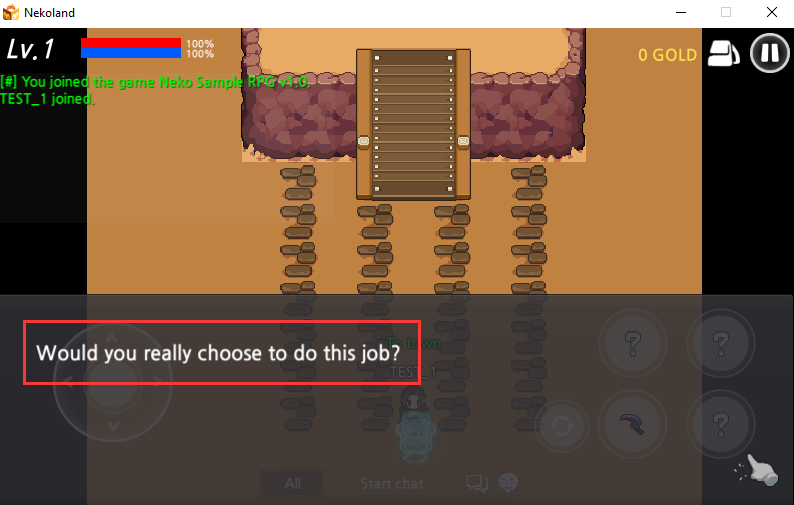
Click the finger icon in the bottom right corner, and a "Yes" or "No" selection message will appear.
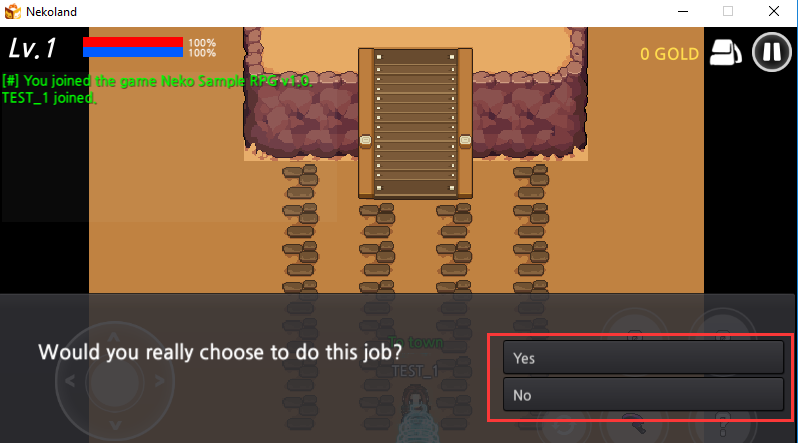
Click "Yes" to enter the village map. Below is an example of entering the village map.
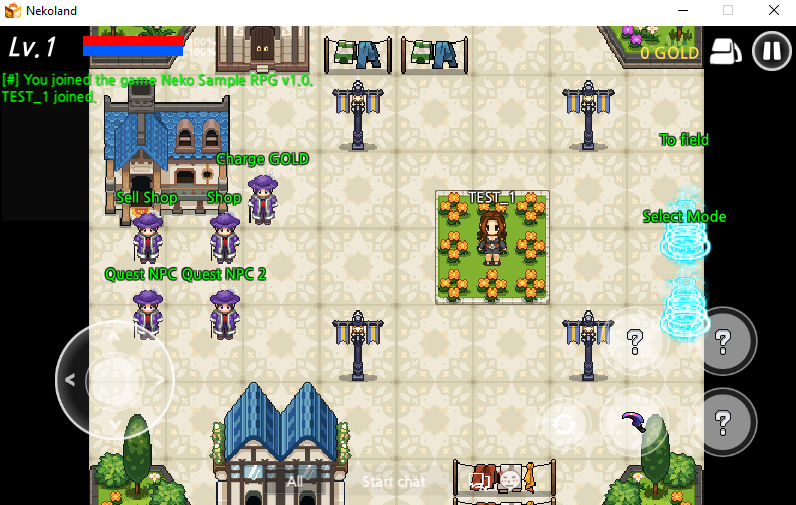
3. Proceeding with Quests
For example, clicking on a quest once will display a message like, "Bring me 10 materials, and I’ll give you 1000 gold," as shown in the screenshot below.
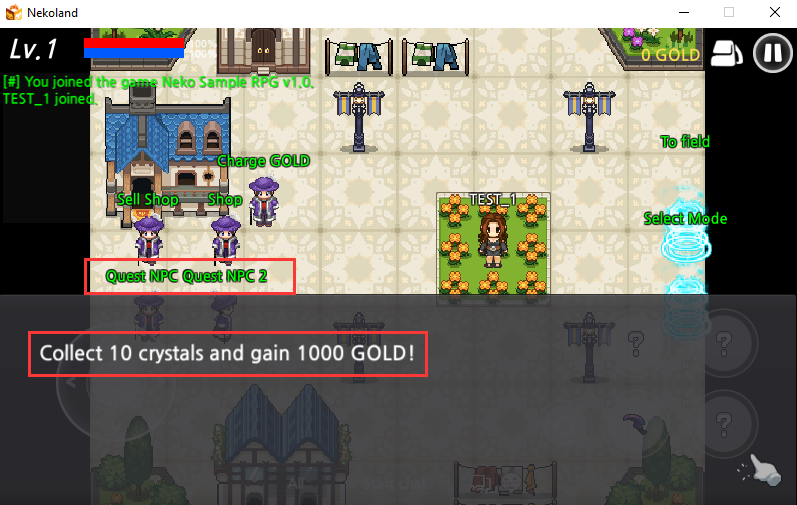
Click the hand icon at the bottom right twice, and a message saying, "Do you accept?" with "Yes" and "No" options will appear.
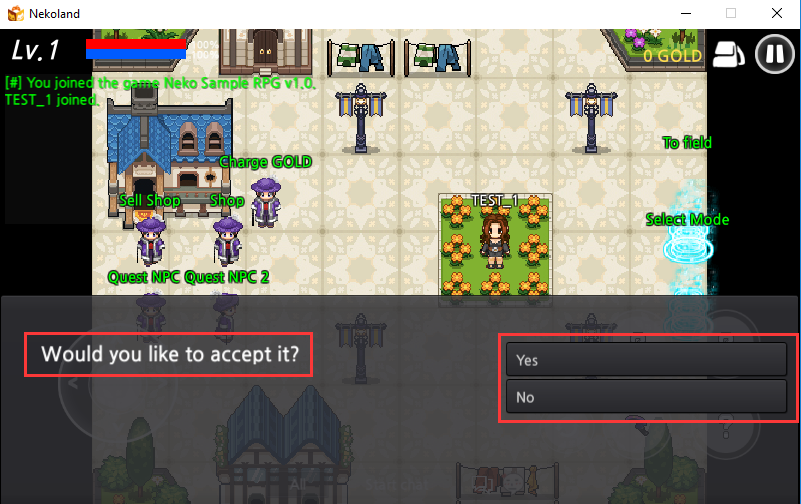
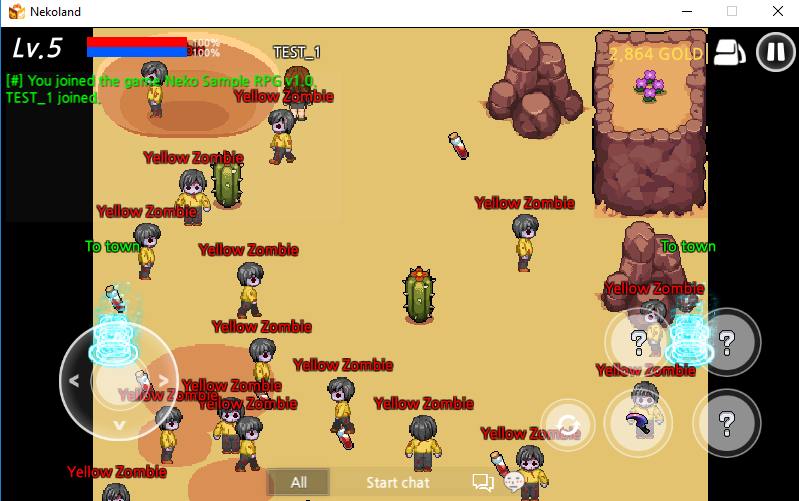
Click "Yes" to accept the quest, move to the hunting ground, and proceed with hunting according to the quest instructions. Below is an example of a hunting ground map.
When the hunting is complete, you can return to the village map through the [To Village] button on the right side of the screen.
4. [Merchant Example]
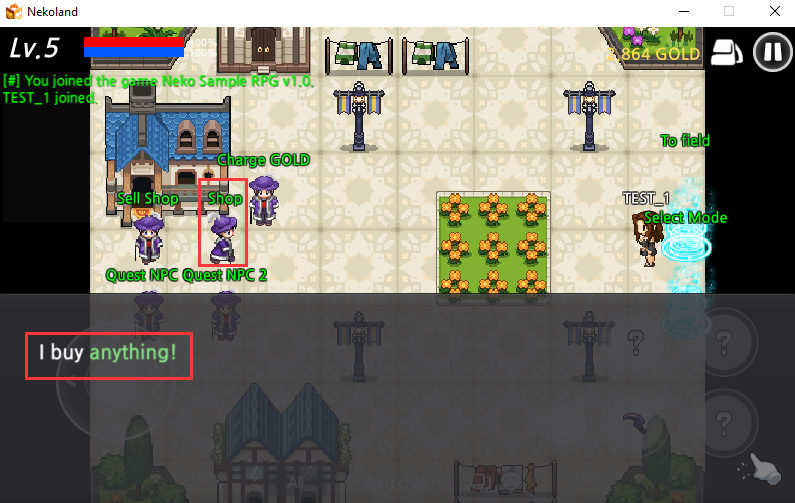
Here is an example of interacting with the [Merchant] in the village map.
When you click the [Merchant] icon, a message saying, "I buy anything," will appear.
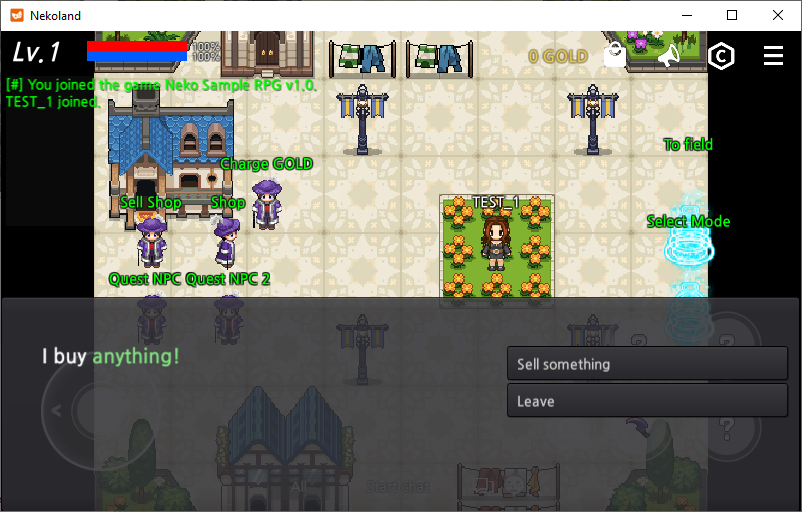
Clicking the hand icon at the bottom right will bring up a selection window with [To Shop] and [Exit]. Click [To Shop] to proceed.
An item sales pop-up window will appear. Let’s sell 10 health potions from here. (Refer to the screenshot below.)
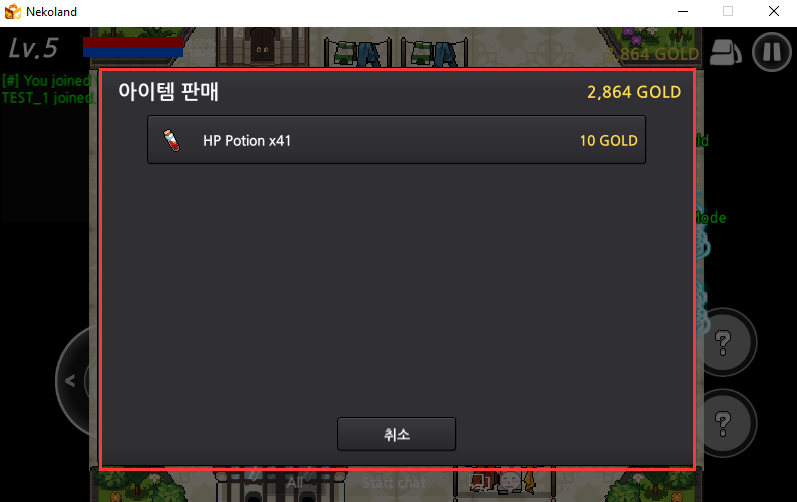
Click on the health potion section, and a health potion sales pop-up window like the one in the red box below will appear. (Refer to the screenshot below.)
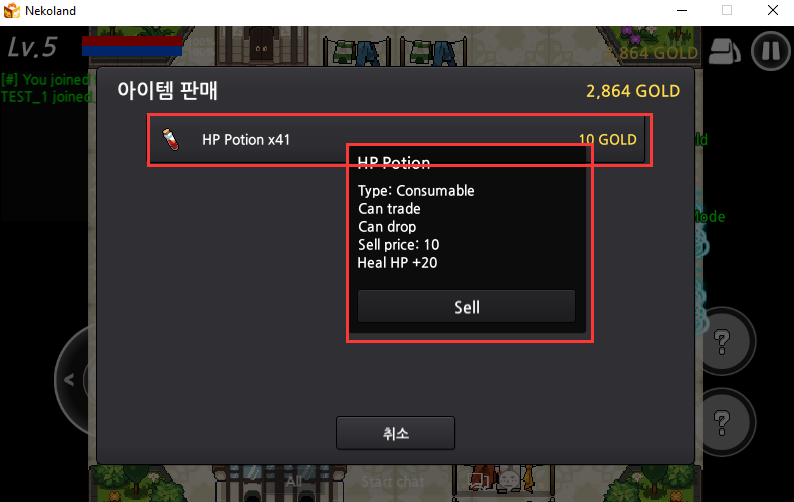
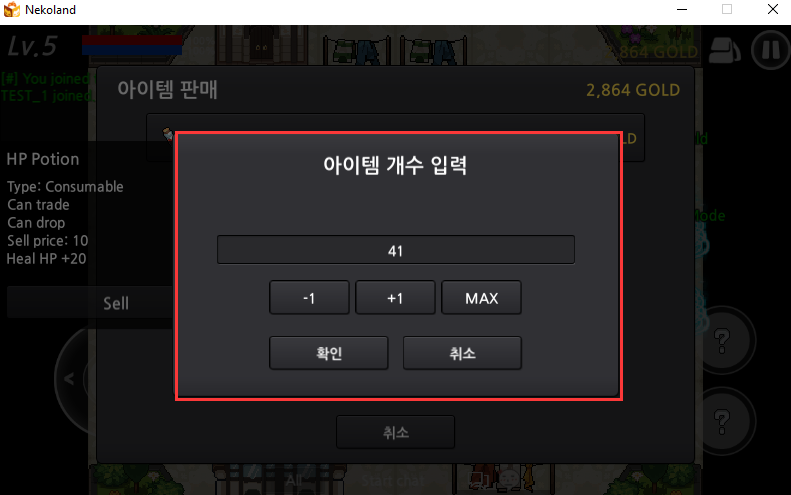
Click [Sell], enter the quantity of items to sell, and click Confirm.
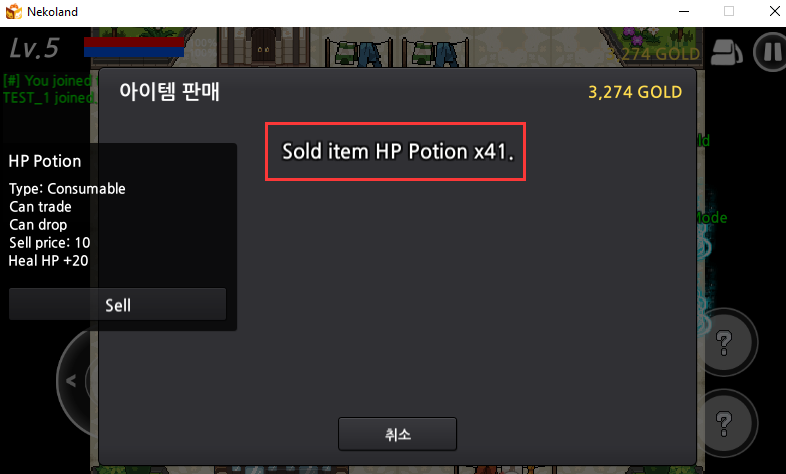
A message saying, "You sold 10 health potions," will appear.
5. [Merchant Example]
You can purchase items through the [Merchant].
Clicking on the [Merchant] will display a guide message as shown below.
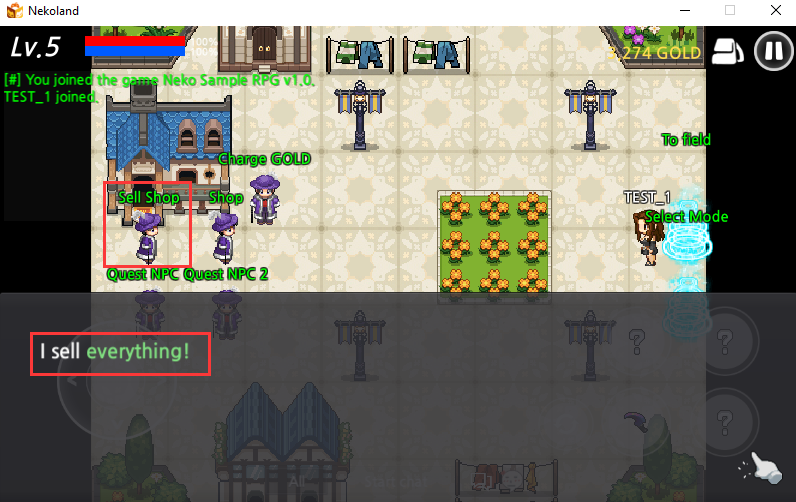
Clicking the hand icon at the bottom right will bring up a selection window with options for Weapons/Armor/Others/Close.
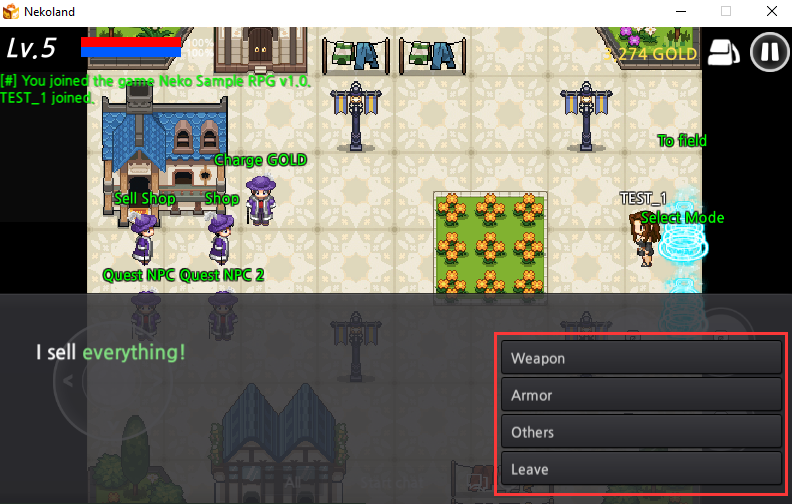
Let’s purchase a weapon. When you click the Weapons button, a pop-up window will appear, as shown below.
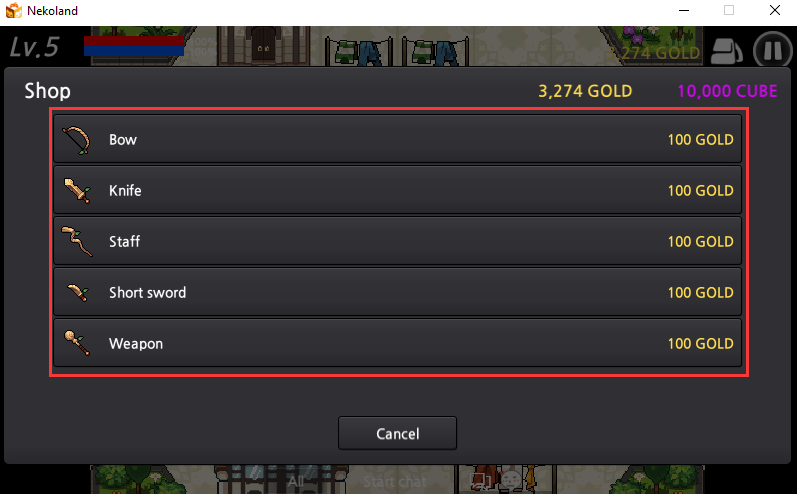
Clicking [Archer’s Weapon] will display a pop-up with details about the archer’s weapon.
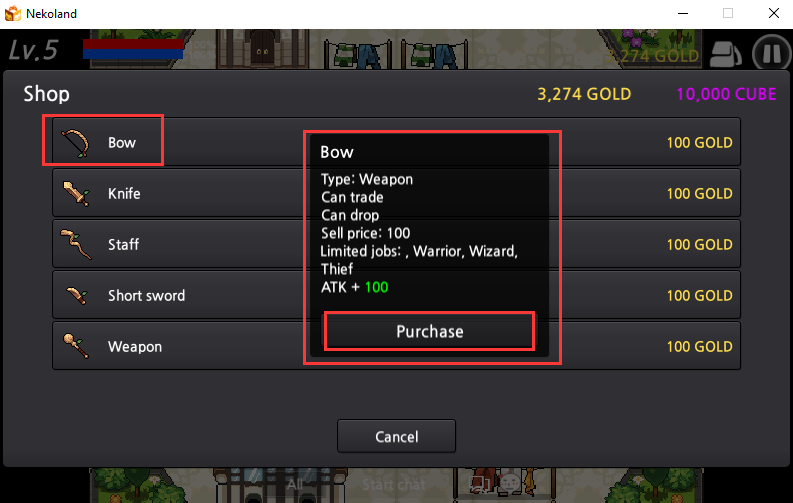
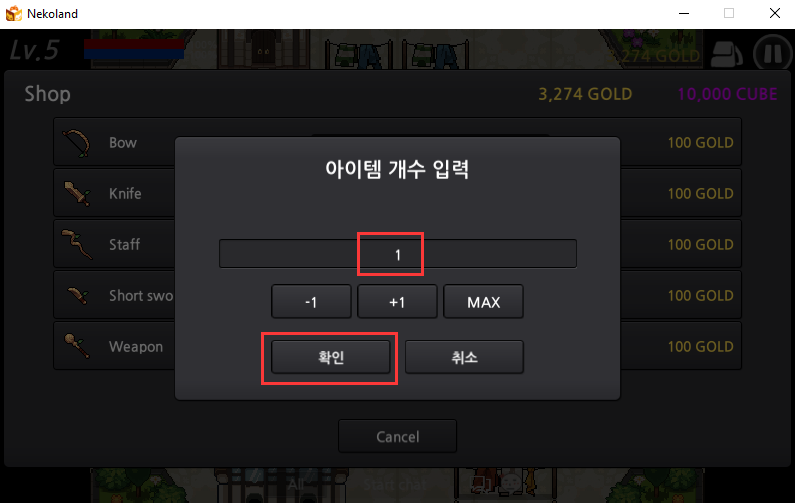
Click the Buy button, enter the quantity of items, and click Confirm to complete the purchase.
A message saying, "You purchased an archer’s weapon!" will be displayed.
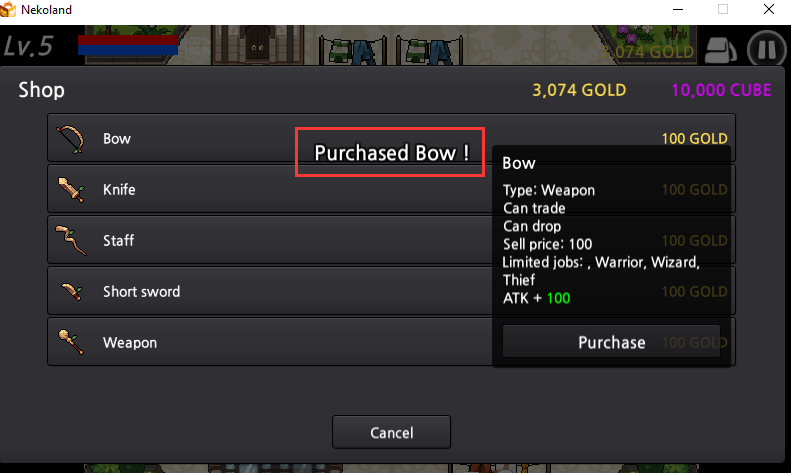
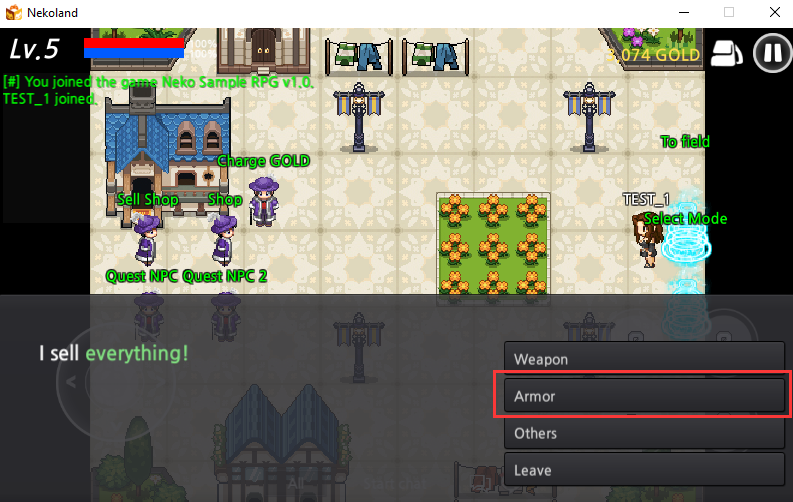
Click the [Merchant] again and select the Armor button.
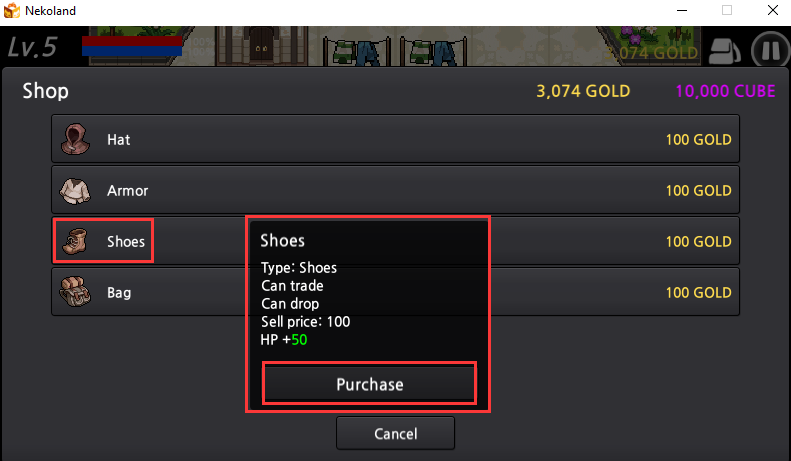
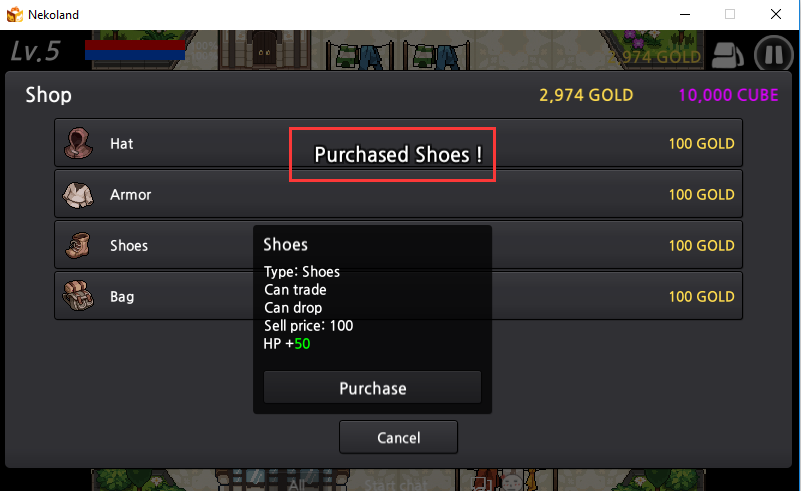
Clicking the [Shoes] button will open a shoe purchase pop-up window.
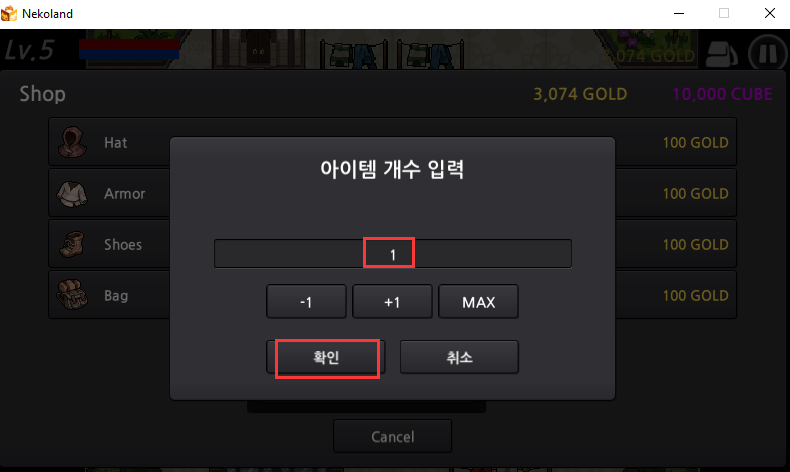
Click [Buy], enter the item quantity, and click [Confirm]. Refer to the example screenshot below.
A message saying, "You purchased the shoes!" will be displayed.
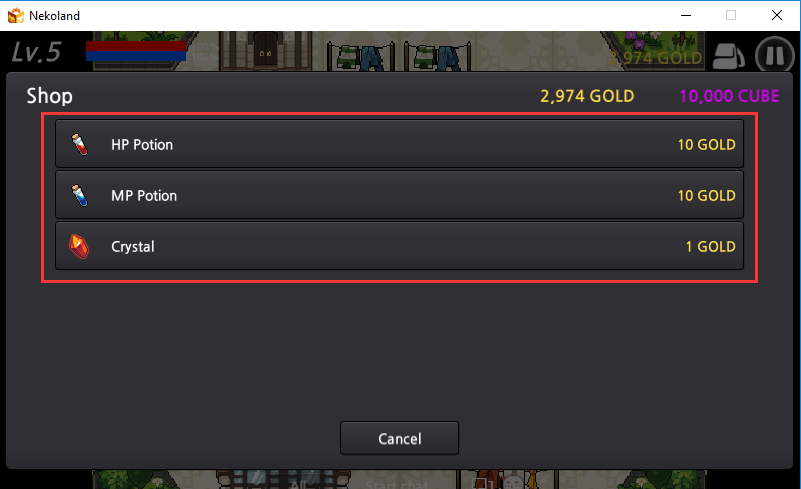
Clicking [Others] will allow you to purchase [Health Potions], [Mana Potions], and [Materials].
6. [Bag]
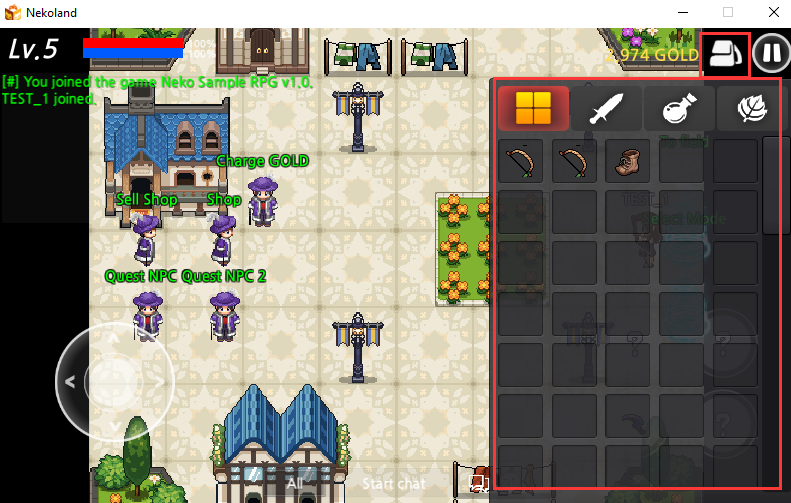
Items acquired during gameplay or purchased from the store can be checked by clicking the bag icon in the upper-right corner of the screen. Refer to the screenshot below.
7. Using Items
Weapons can be equipped through [Slot Registration], and armor can be used via the [Use] option. Unnecessary items can be discarded by clicking the [Discard] button.
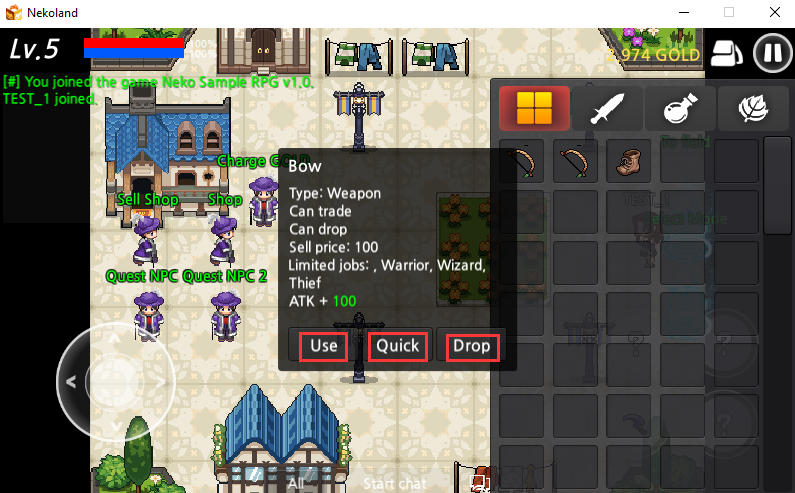
When you click on a weapon, an item description pop-up will appear. Refer to the screenshot below.
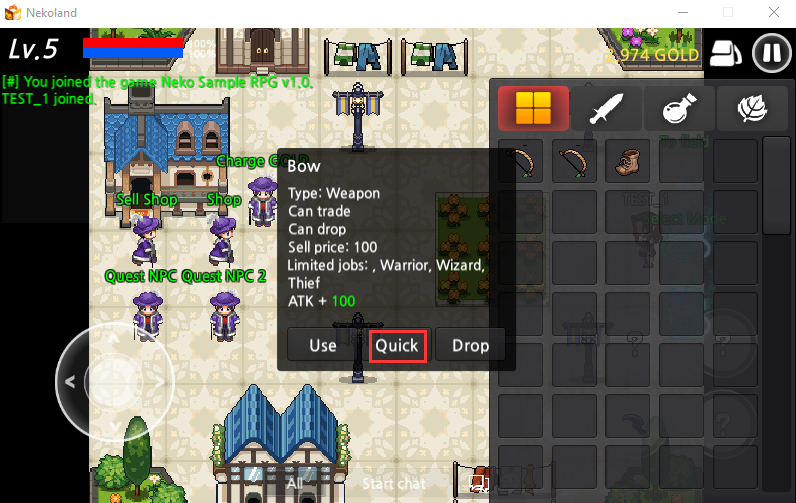
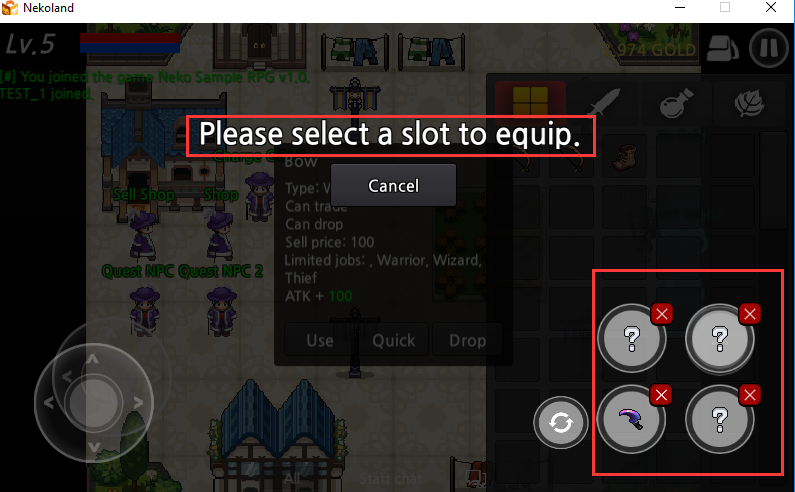
Clicking [Slot Registration] will open the slot equip screen. Select the desired slot to equip the item. Refer to the screenshot below.
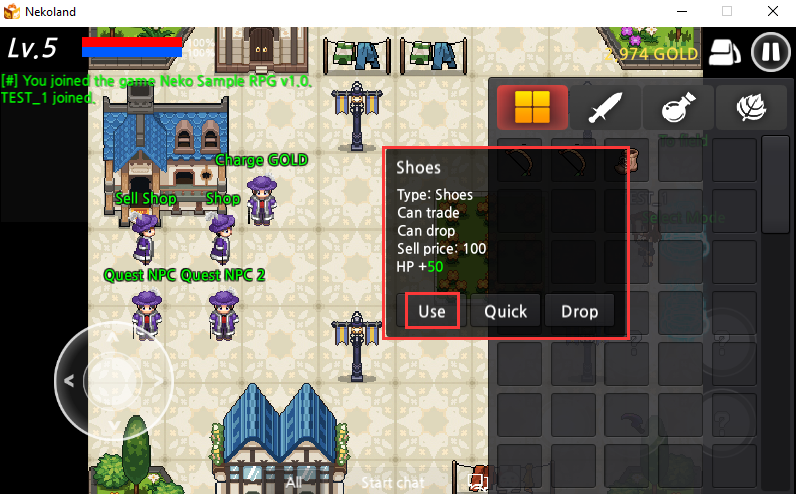
When you click on armor, an item description pop-up will appear. You can use it by clicking [Use]. Refer to the screenshot below.
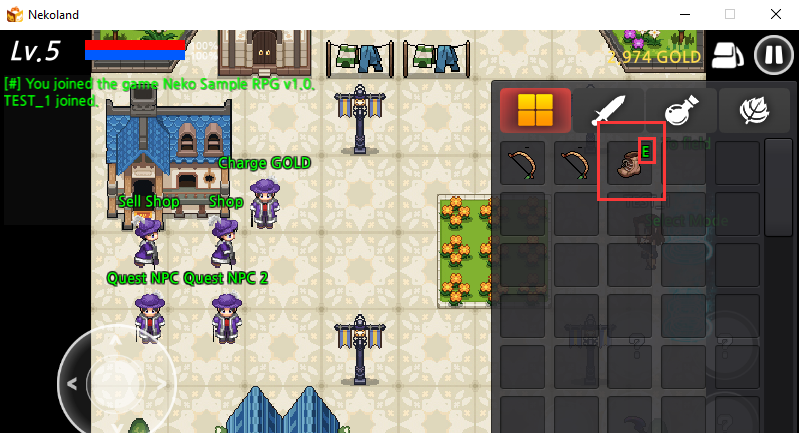
When armor is used, a green “E” appears at the top-right corner of the armor. Refer to the screenshot below.
Let’s use a mana potion from the miscellaneous items. Clicking the mana potion, as shown in the screenshot below, will open its description pop-up.
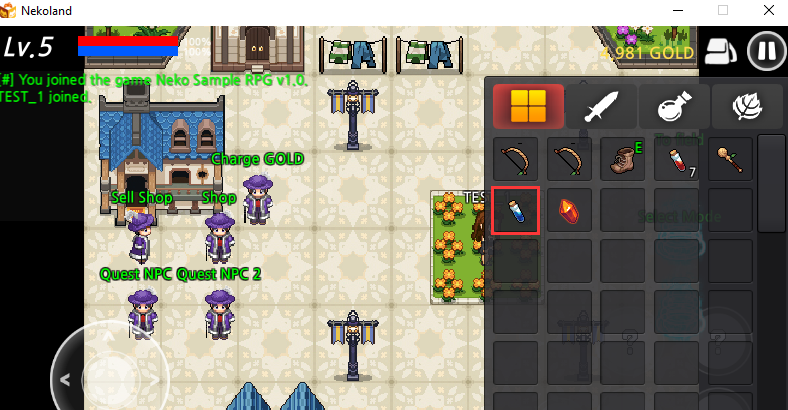
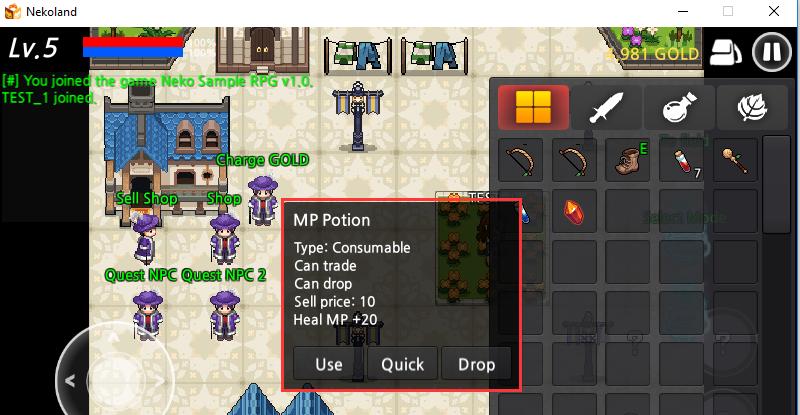
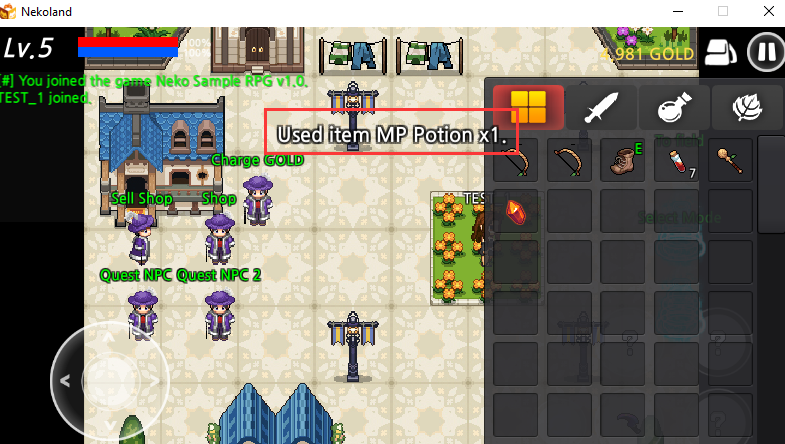
Clicking [Use] will display a message saying, "You used 1 mana potion." Refer to the screenshot below.
8. Entering [Transportation Center]
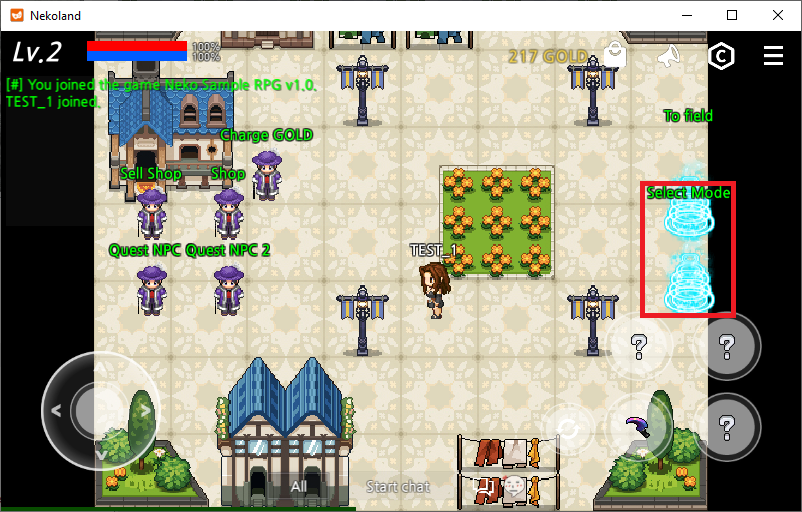
You can enter the [Transportation Center] from the village map (refer to the red box at the bottom). This will take you to the [Transportation Center] map. Refer to the screenshot below.
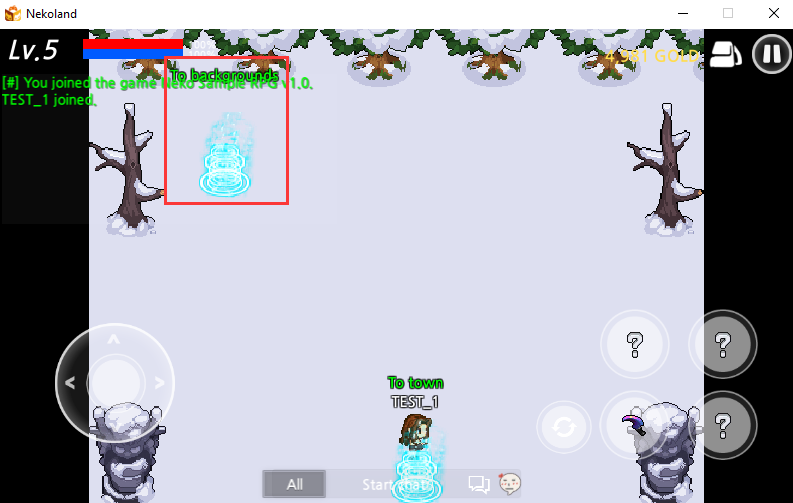
9. Entering [Background Effects Room] and Other Rooms
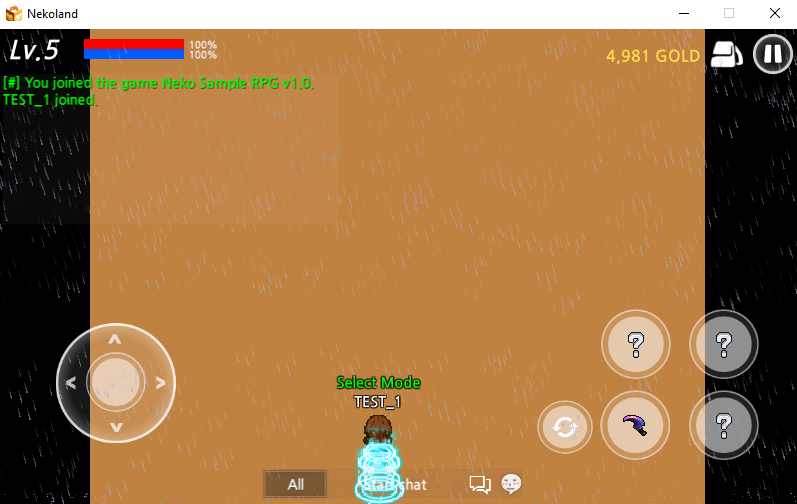
When entering the [Background Effects Room], you can access a map with various rooms ([Ambient Light Room], [Tile Background Room], [Fog Room], [Panorama Room], [Weather Room]). Refer to the screenshot below.
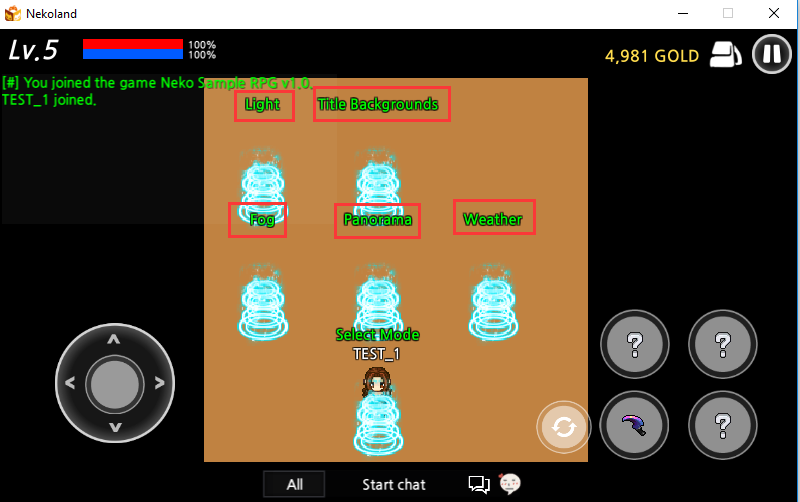
10. Example of entering the [Panorama Room]
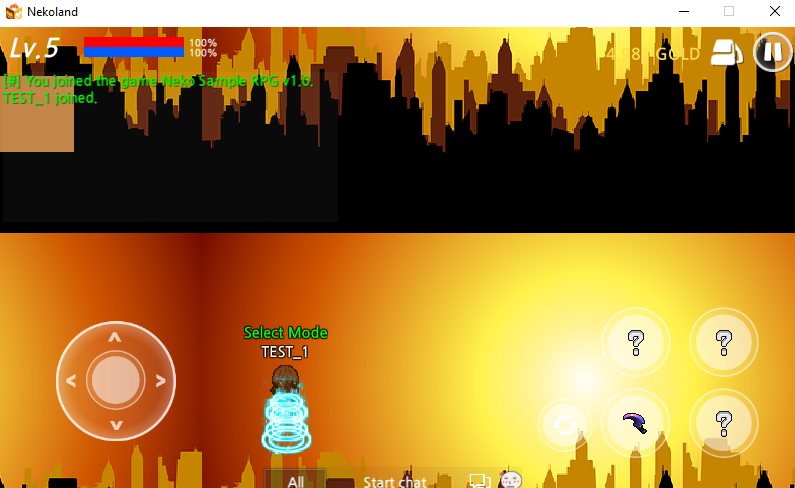
11. Example of entering the [Fog Room]
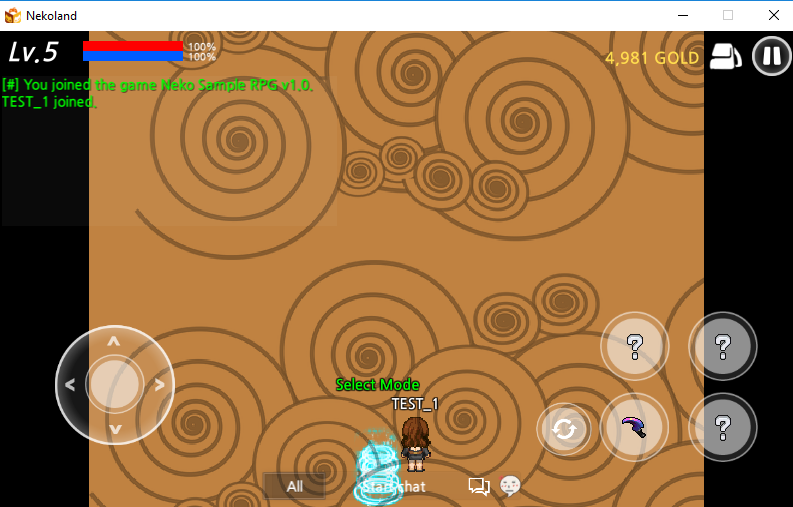
12. Example of entering the [Weather Room]
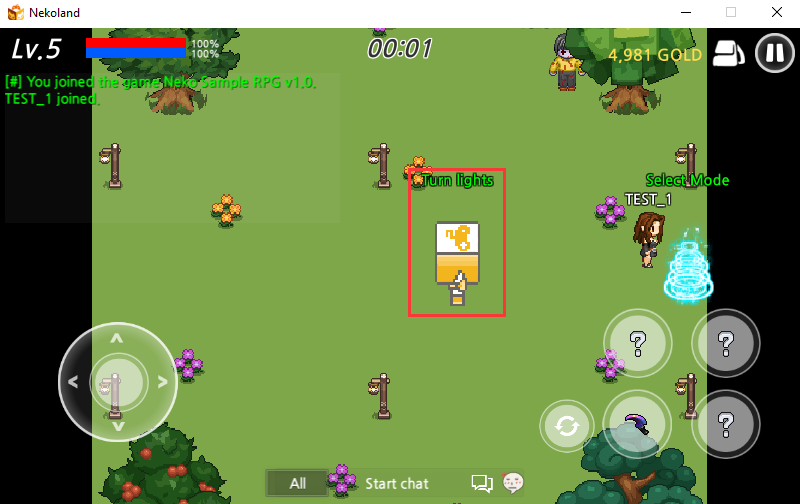
13. Example of entering the [Ambient Light Room]
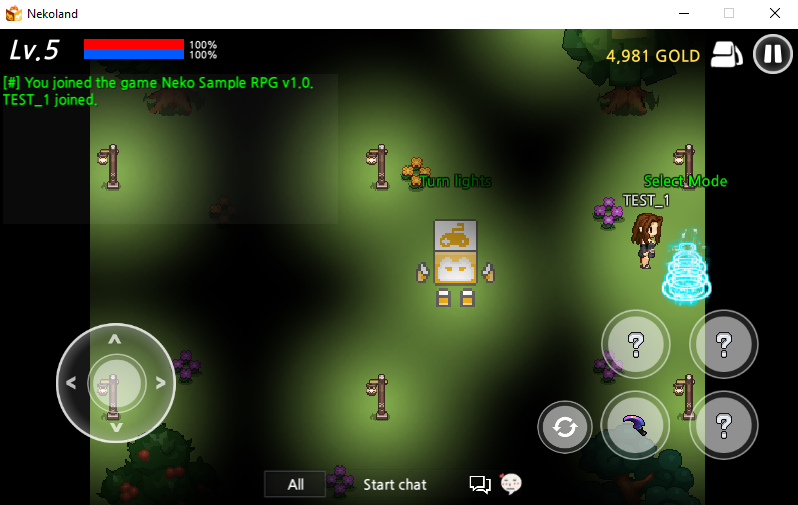
The screenshot below shows the effect when clicking the [Turn on Light for 3 Seconds] icon, where the entire room brightens up.
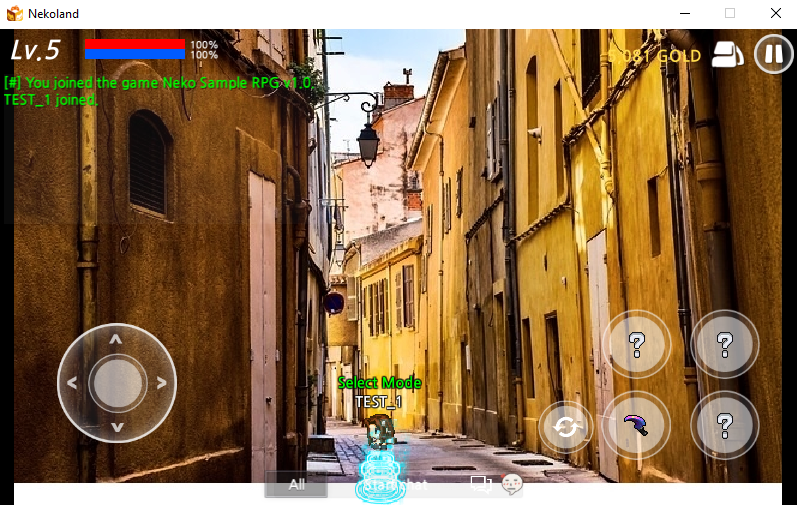
14. Example of entering the [Tile Background Room]
15. Using the Chat Window
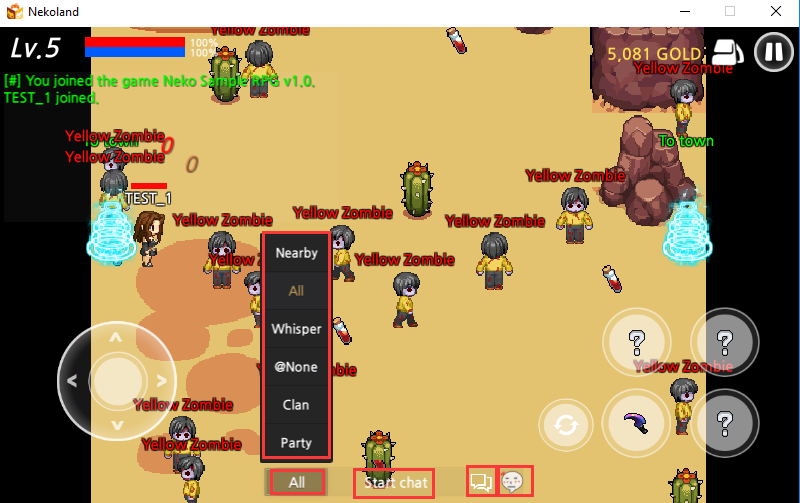
Clicking the [All] icon on the left side of the chat window will bring up a chat selection window.
You can choose from [All], [Whisper], [@None], [Clan], or [Party] to start chatting.
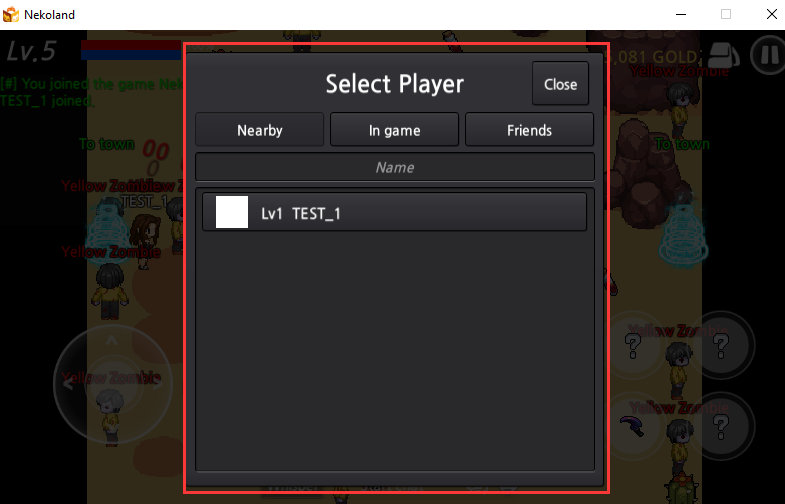
When [Whisper] is selected, a pop-up window will appear as shown below. Select a player to start chatting.
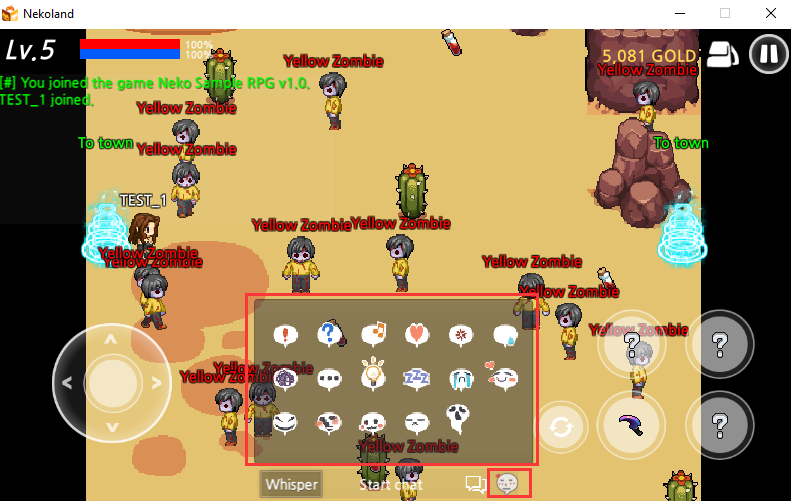
You can also send [Emoticons] via chat. Clicking the emoticon icon, as shown in the screenshot below, allows you to choose from a variety of emoticons.
16. [Settings Icons]
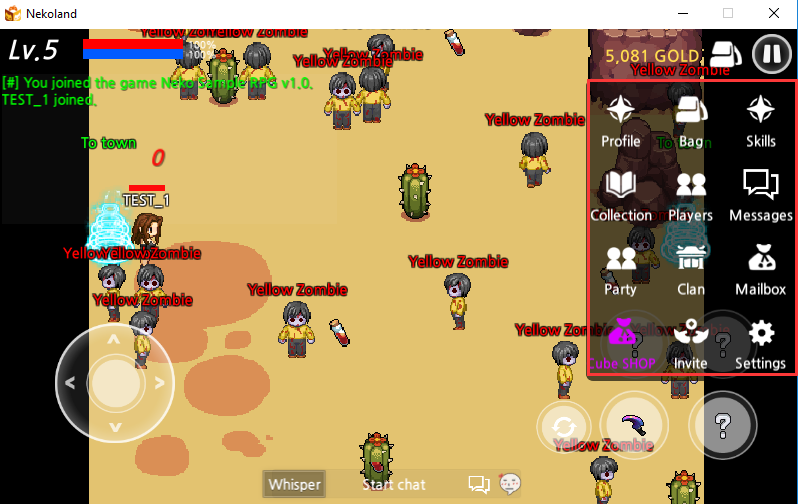
Clicking on the [Settings Icons] allows you to access features such as [Profile], [Bag], [Skills], [Collection], [Player], [Messages], [Party], [Clan], [Mailbox], [Cube Shop], [Invite], and [Settings].
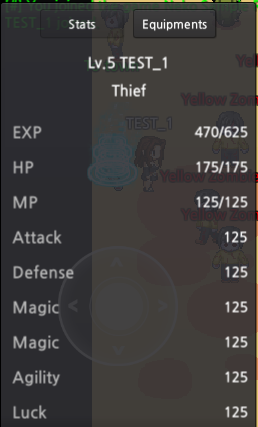
16-1 [Profile]
Clicking [Profile] lets you check the character's stats and equipment.
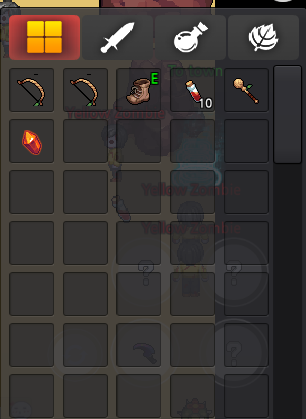
16-2 [Bag]
In the bag, you can check and use your inventory items.
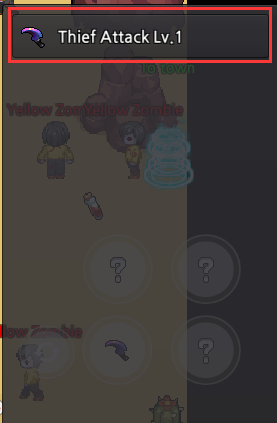
16-3 [Skills]
The [Skills] menu allows you to check the character's available skills. Refer to the screenshot below.
16-4 [Collection]
The [Collection] menu allows you to check the character's owned collections. Refer to the screenshot below.

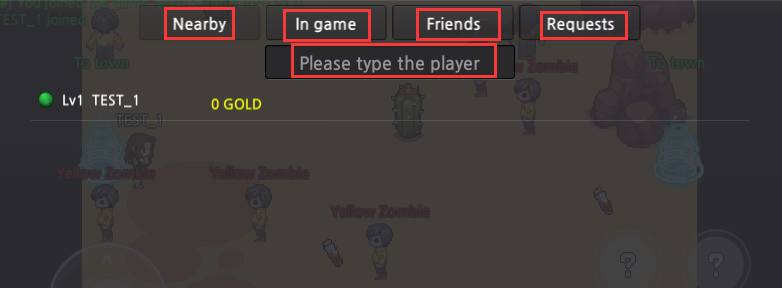
16-5 [Player]
This feature allows you to view nearby users, their gold amounts, players in the same game, and perform actions like adding friends or accepting friend requests. Refer to the screenshot below.
16-6 [Messages]
Opens the message pop-up window.
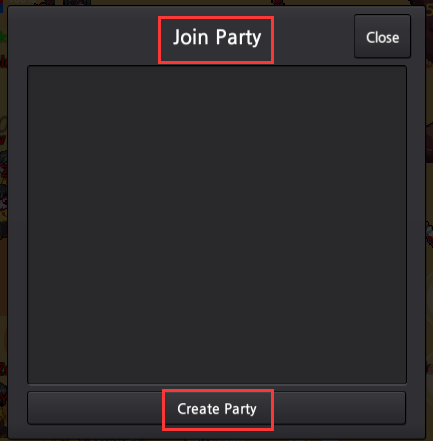
16-7 [Party]
You can search for parties or create your own party. Refer to the screenshot below.
16-8 [Clan]
This feature allows you to search for clans, create clans, and access other clan-related functionalities.
16-9 [Mailbox]
Displays received mails.
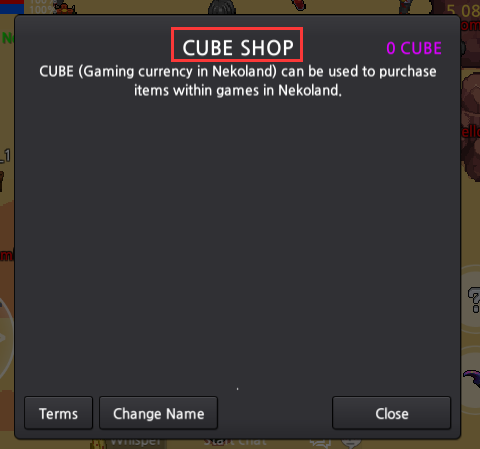
16-10 [Cube Shop]
Allows you to purchase cubes and use them to buy various items.
16-11 [Invite]
Provides the ability to invite others to the game.
16-12 [Settings]
The [Settings] menu allows you to move to the official chatroom or homepage, adjust in-game BGM, FX, and various performance settings. Additionally, it includes links for other gameplay features.

Last updated